Homemade Truffle Ravioli with Burnt Butter and Sage
I think I’ve said this before… but we LOVE pasta! This is one of the first homemade raviolis I have attempted to make, using a cool new ravioli stamp, courtesy of my Mother-In-Law. This device came straight from a little shop in northern Italy and was brought back for me to attempt my own homemade ravioli. I found the same tool on Amazon, which was called the Eppicotispai Aluminum Square Ravioli Ejector Stamp with Beechwood Handle. So, if you’re adventurous and daring you can try it yourself.
Ingredients:
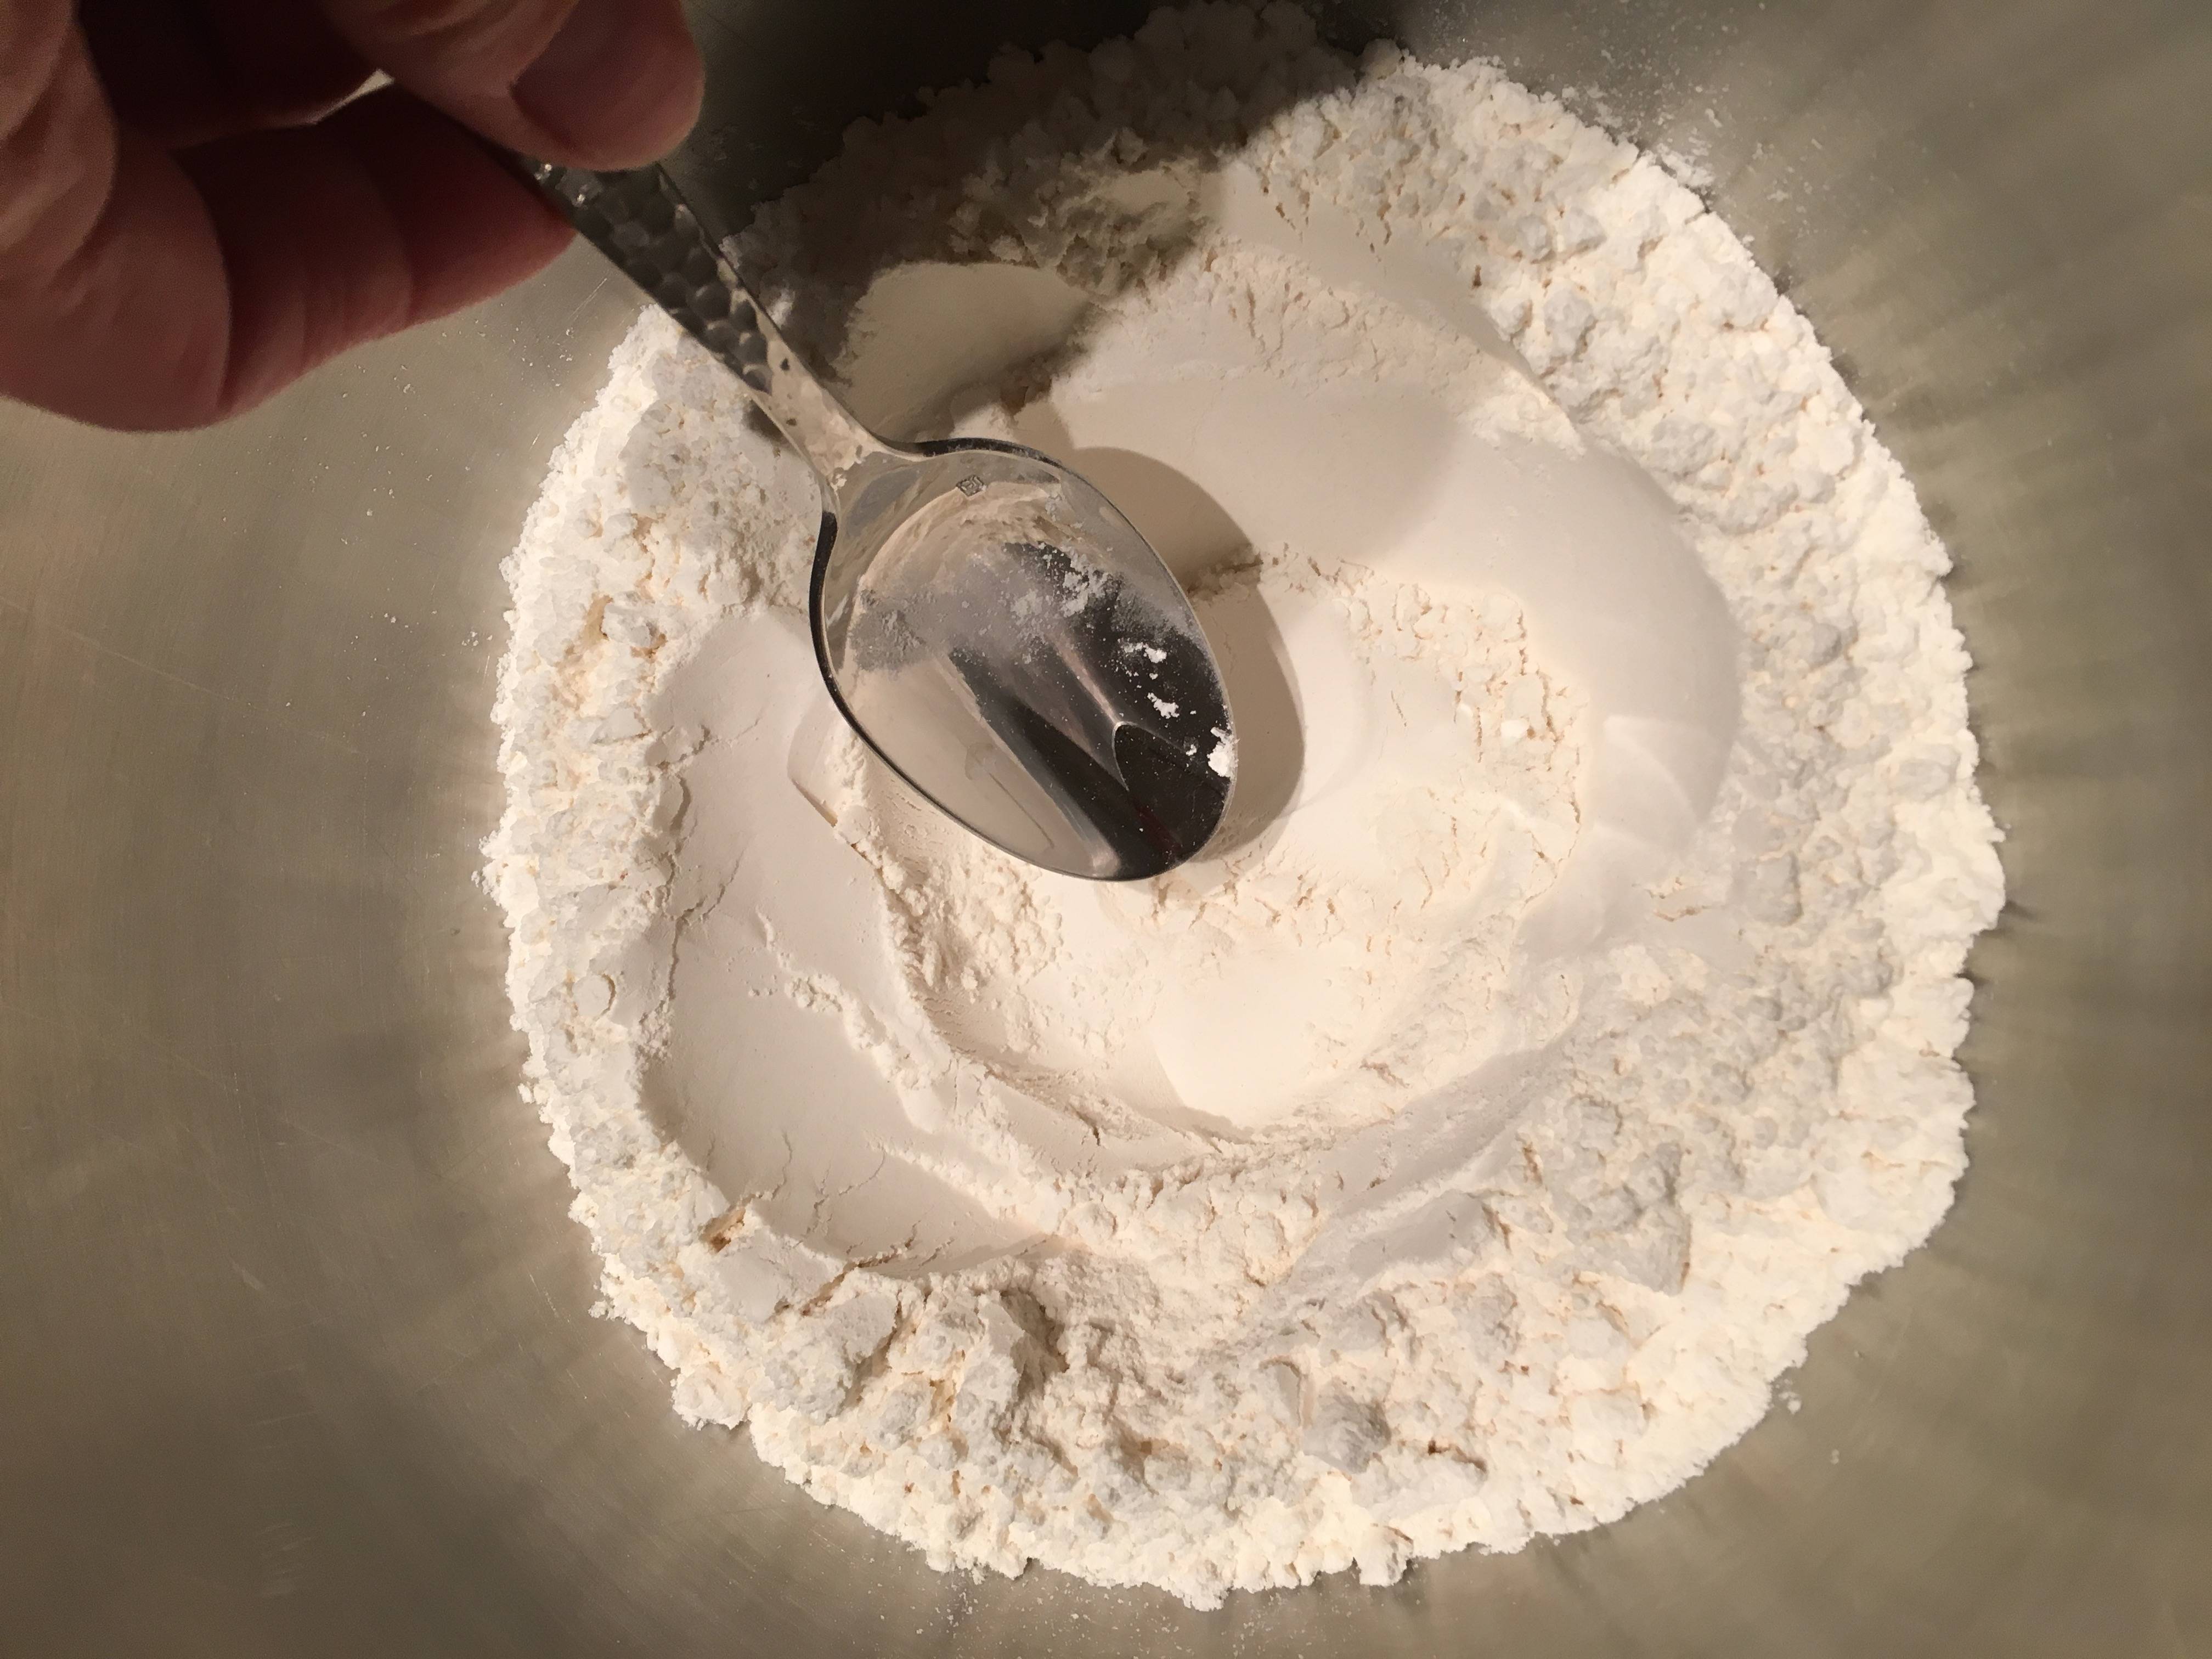
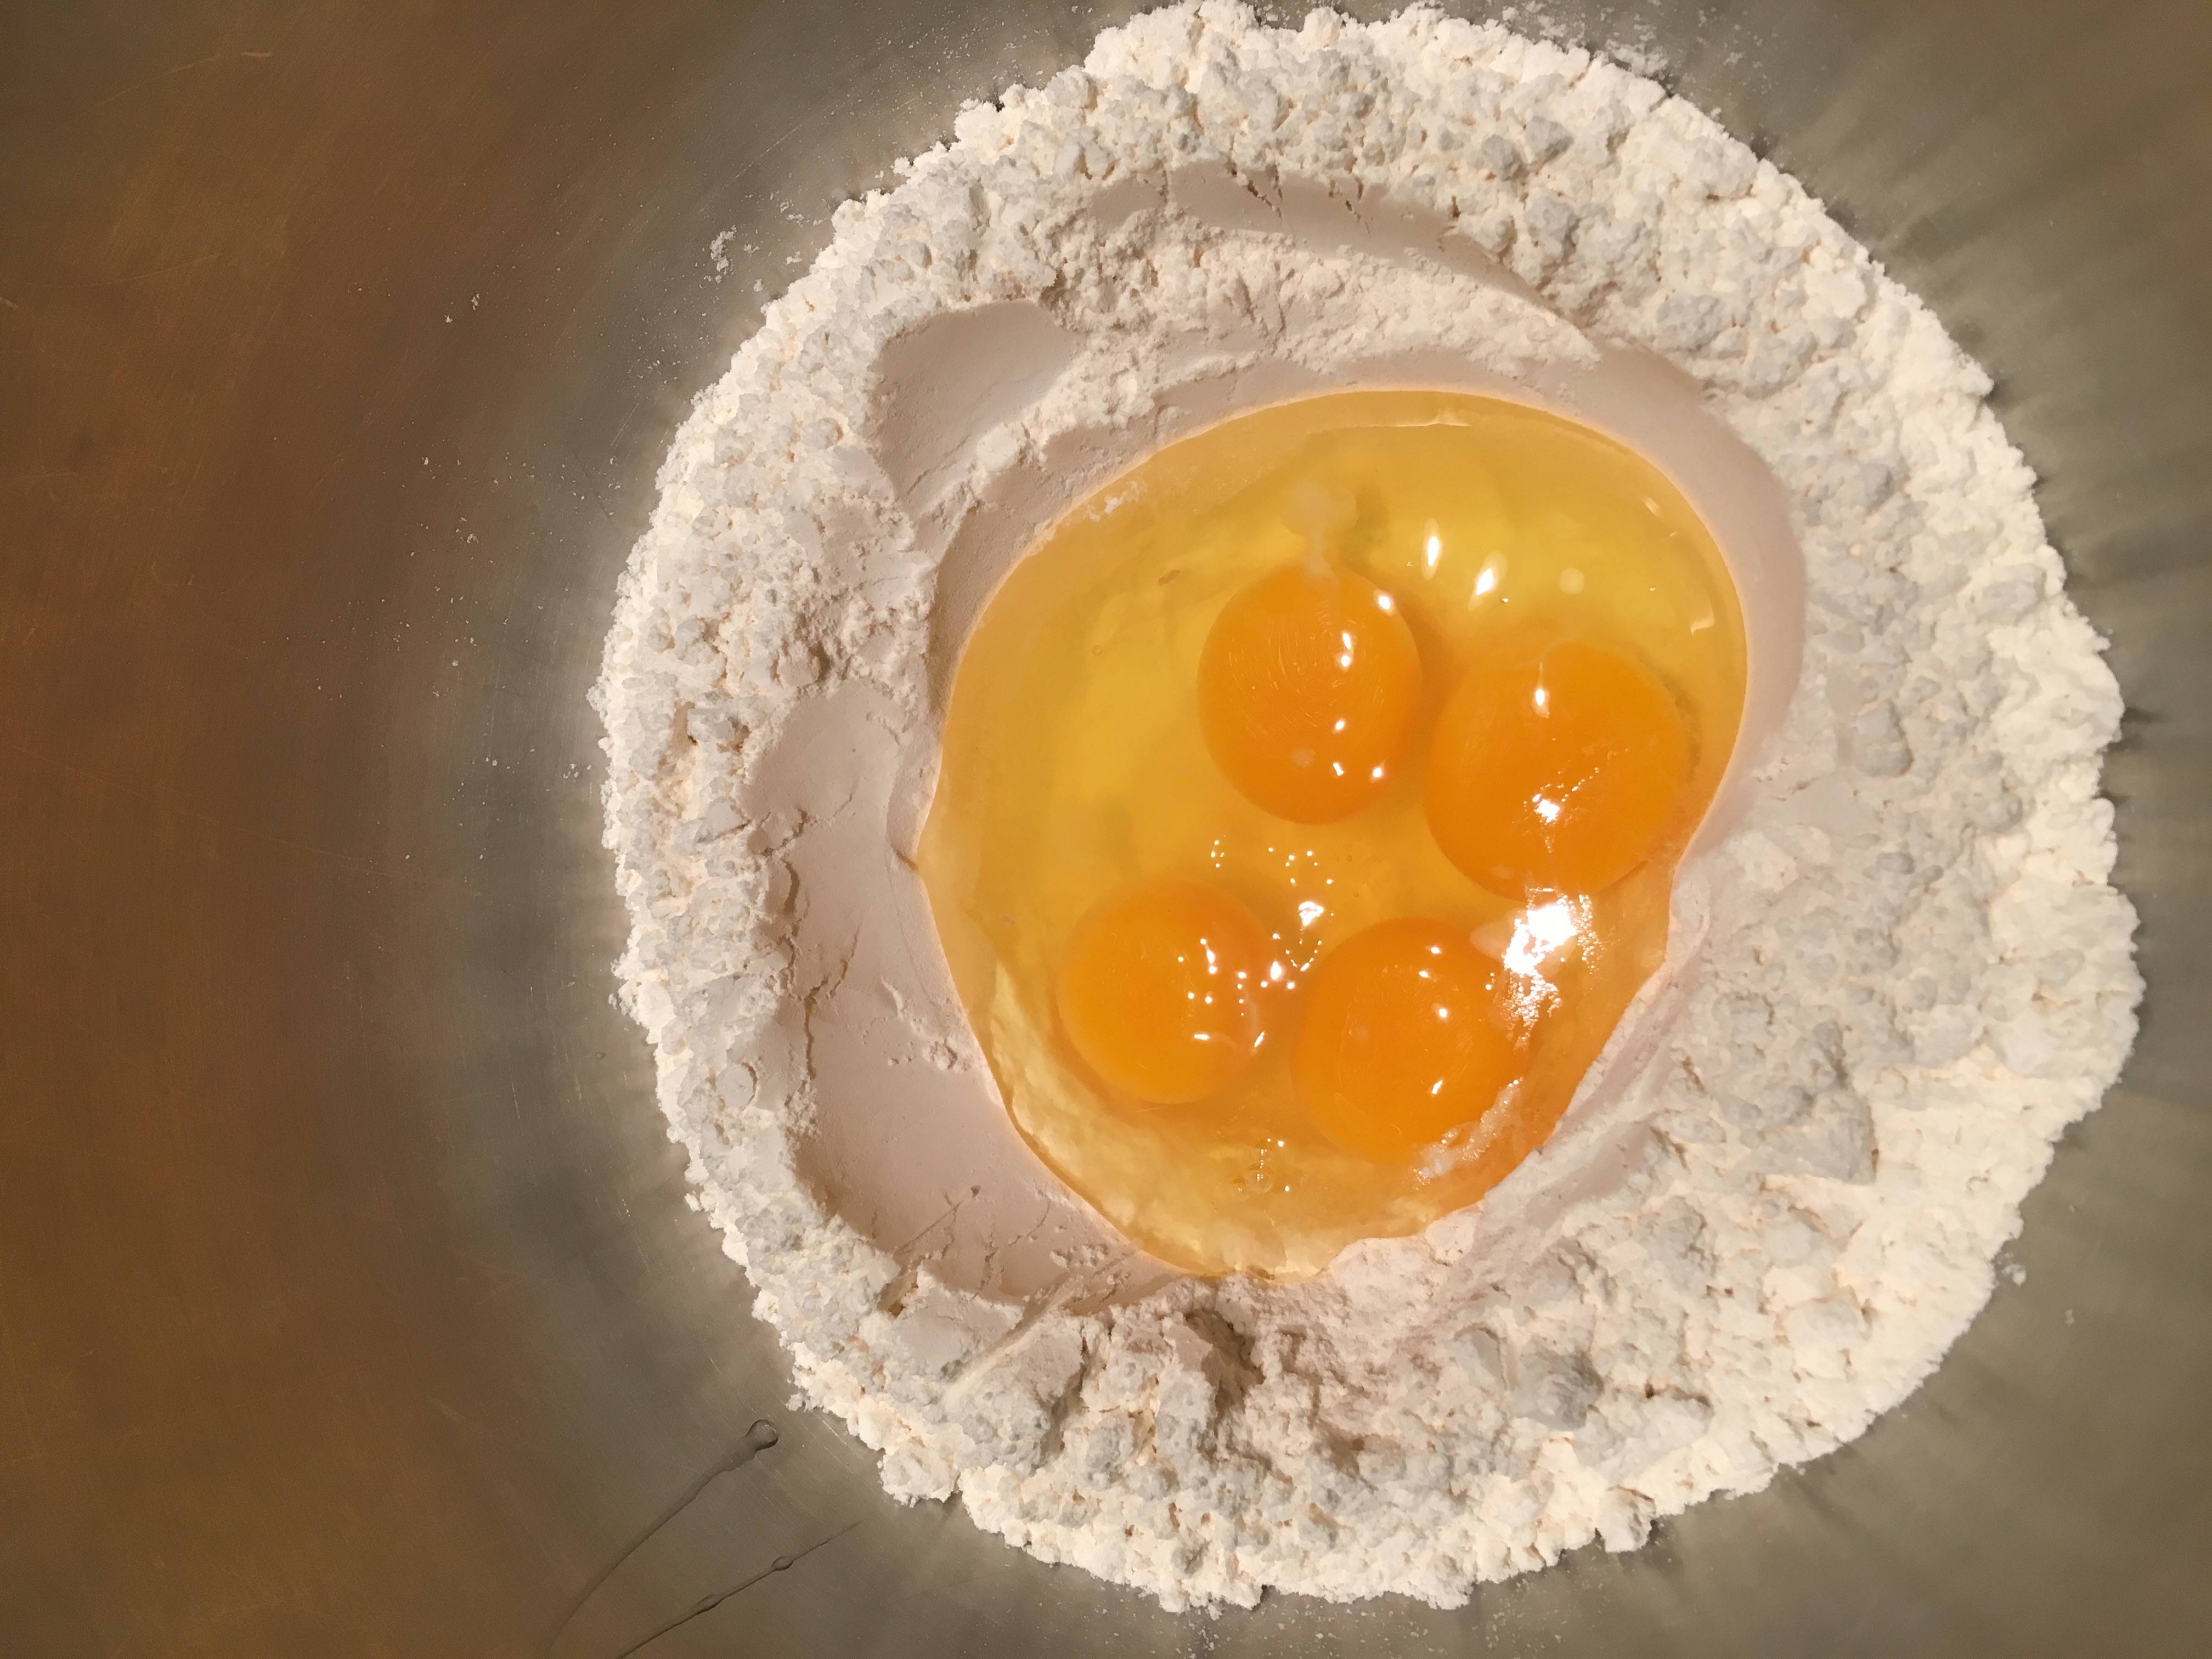
For the pasta: 100 grams of flour per 1 egg. (full recipe can be found here) – follow those instructions so you have strips of thin dough. Using setting #7 on your Atlas Pasta maker. You should end up with strips that are at least 3 inches wide. I used 300 grams and 3 eggs which produced 40 ravioli.
For the pasta filling:
- ½ cup fresh grated parmesan cheese (do not pack into measuring utensil) – should be fluffy
- ½ cup shredded mozzarella
- ½ cup ricotta cheese
- 1 tsp truffle oil (I used Urbani White truffle oil)
- ½ tsp salt
Mix all ingredients into a bowl, making sure the truffle oil is well incorporated. You will also need to whip 2 eggs in a separate bowl which will be used to seal the pasta closed.
- 2 whipped eggs
For the Burnt Butter Sage:
- 1 cup sage (cut into strips)
- 1 stick of butter
- ½ cup of fresh grated parmesan cheese
Before making the pasta dough, be sure to put a large pot of water set to boil, and make sure to add enough salt to the water.

 Directions:
Layout the strips of dough onto a floured surface. Using a basting brush, brush the egg onto the pasta dough strips. Scoop 1 tsp. of the cheese-truffle mixture, spacing them onto the top portion of the pasta, and about 2 ½” apart. Fold up the bottom part of the strip to cover the cheese filling, making sure to push out all of the air around the cheese. You want to ensure they don’t fill with air. Once it is sealed over the cheese you now get you handy-dandy Eppicotispai Aluminum Square Ravioli Ejector Stamp and stamp over each portion of cheese filling. I had to wiggle it around on the cutting board, to ensure the edges were cut. Please be careful as the edges of the stamp are very sharp.

 You should end up with a row of ravioli just like this. After you repeat the process with all of the strips of pasta dough you can line the ravioli onto floured wax paper.
You can now make the burnt butter sage sauce. Melt the butter on medium heat. Add in the sage and cook for 10 minutes or until the sage is crispy and the butter slightly browned. You now can cook the pasta. Approximately 5 minutes, but be sure to test them as they cook, you don’t want them over cooked, just al dente. Drain the pasts with a slotted spoon, making sure all the water is drained well, (otherwise the butter sauce gets watered down). Place a large pinch of parmesan cheese onto the pasta then pour the sauce over the cheese. It will slightly bubble, melting the cheese. I personally like to plate individual portions, but be sure to remove any left over raviolis as they are great reheated in boiling water the next day.
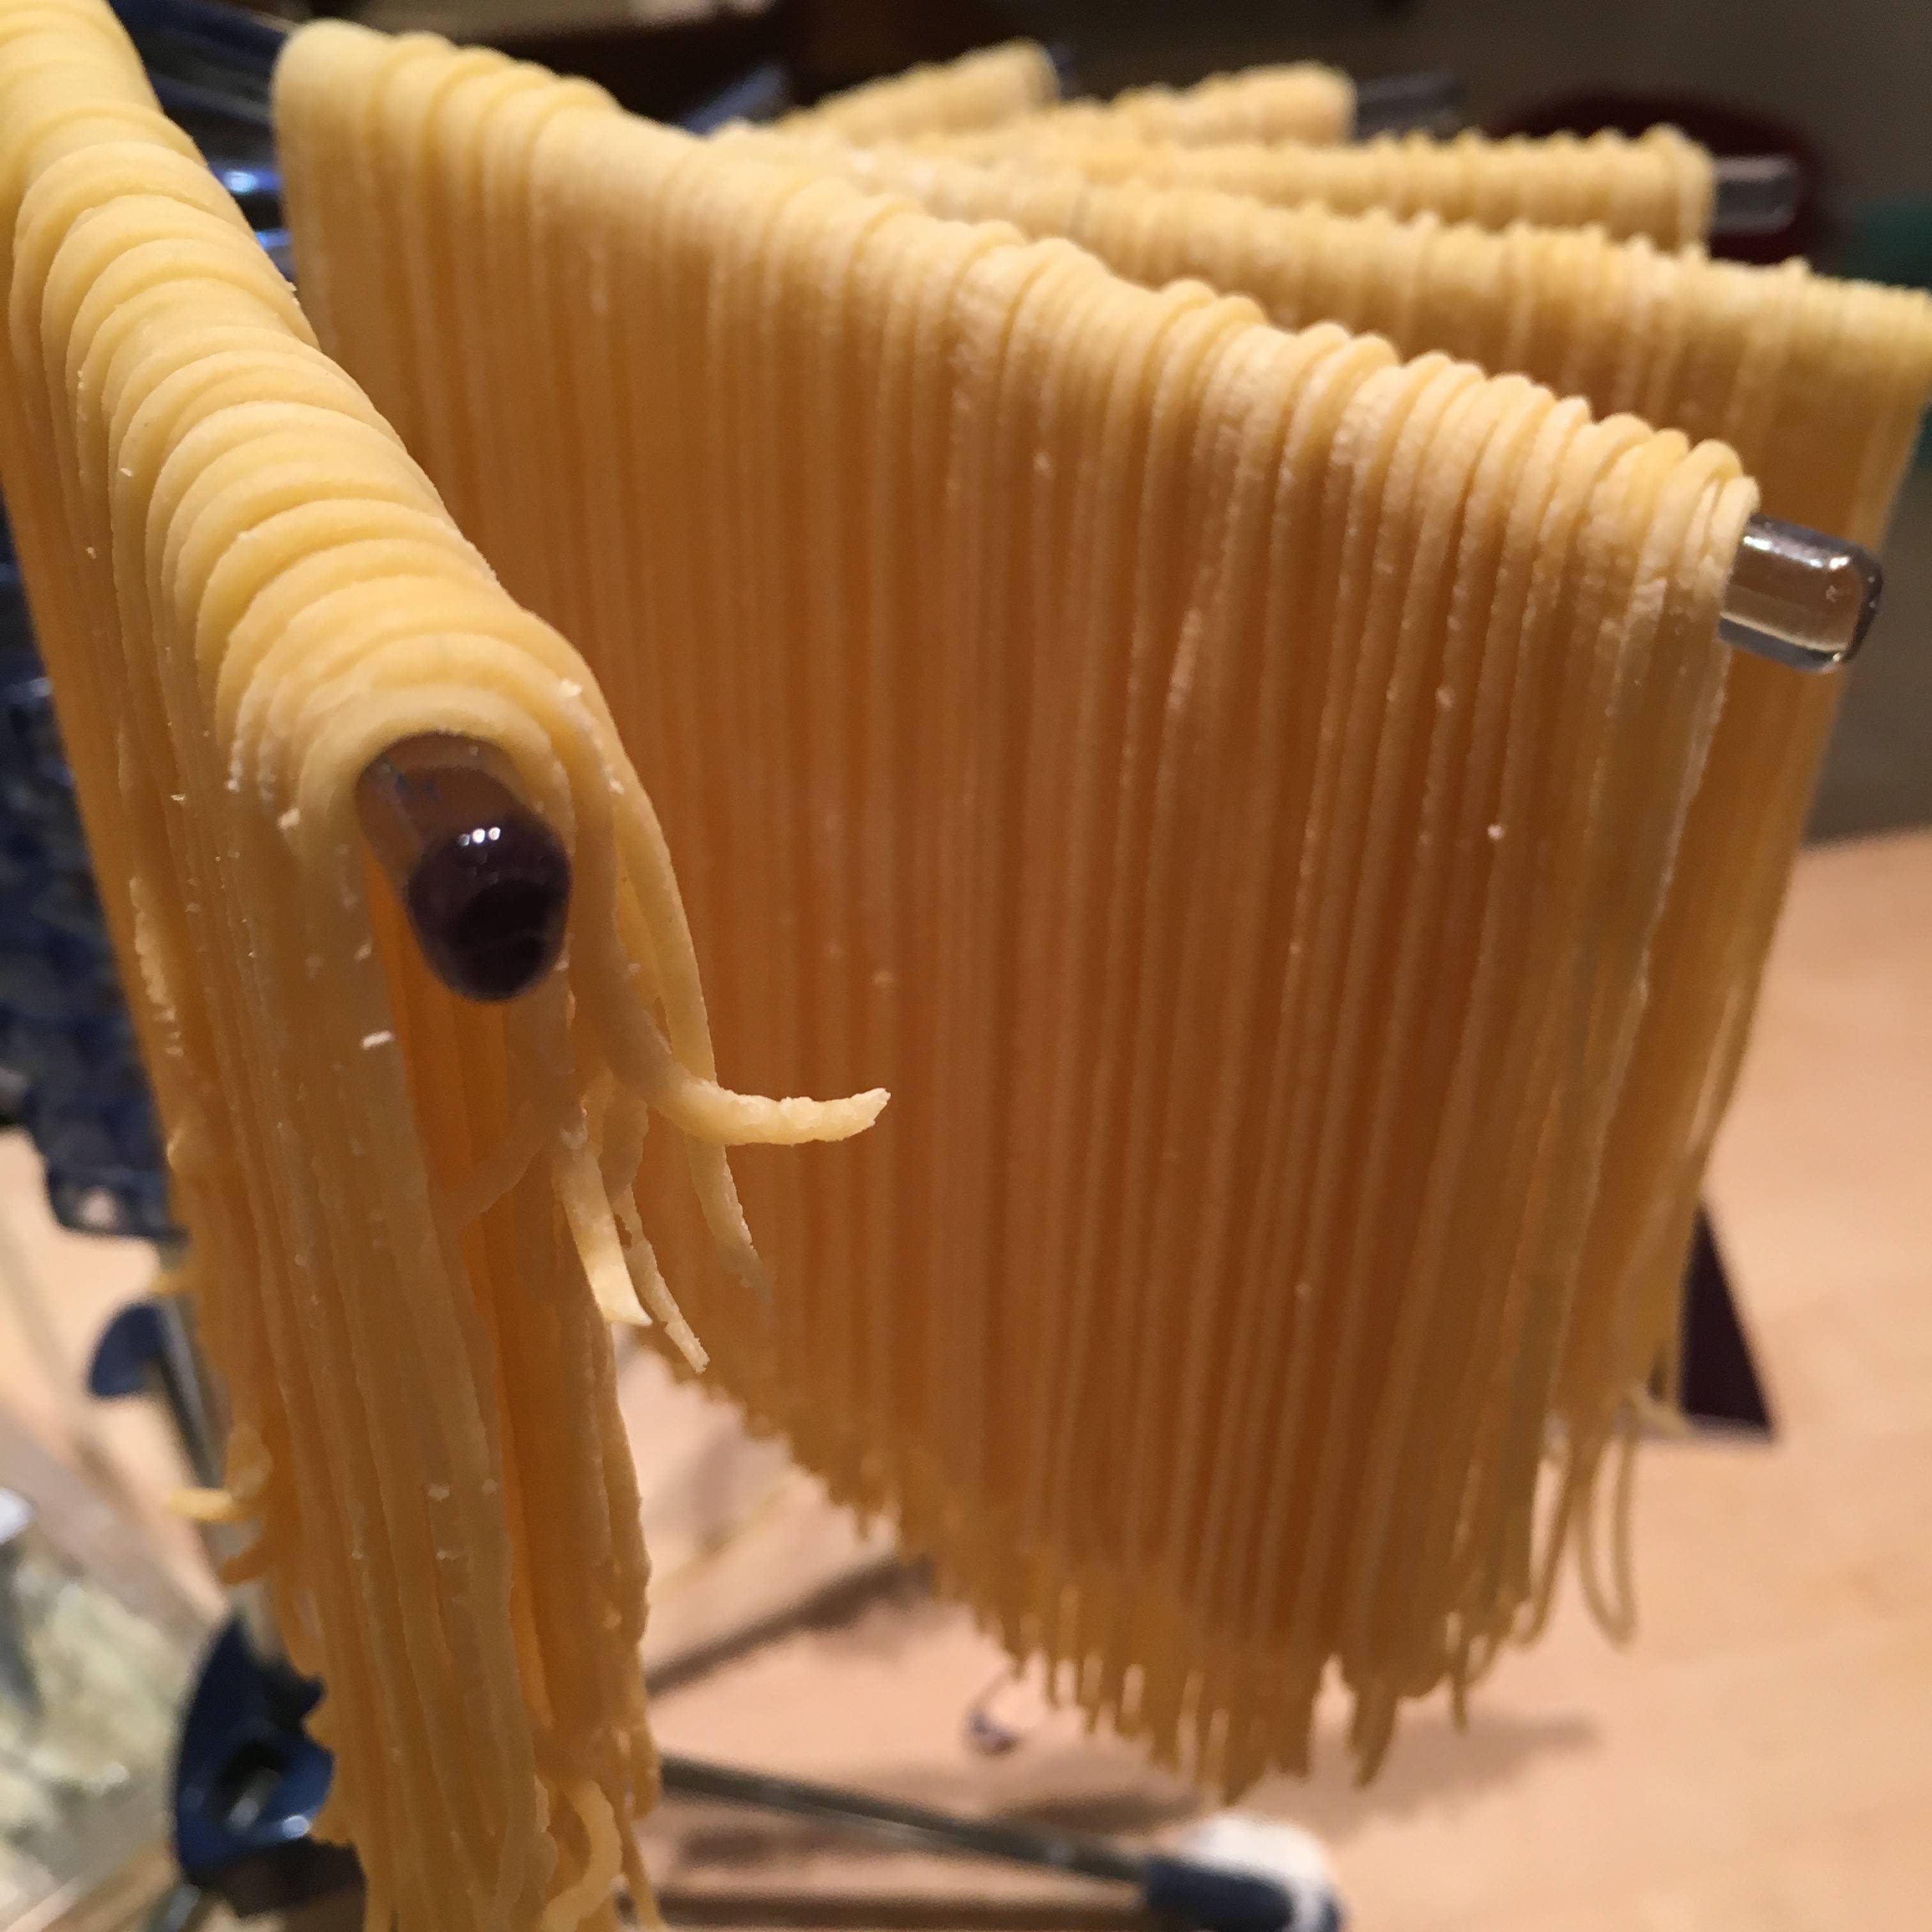


 Once you have 6 strips of thin pasta dough, you can now add on the spaghetti/fettuccini attachment, and run the dough through the spaghetti roller. I also purchased the